I set out to deploy my portfolio website and realized how easy cloud providers have made it to deploy something simple with just a few clicks. But where's the fun in that? If you haven't spent hours automating the process, running into errors, and then spending a few more hours to finally get it right, ah! the sense of accomplishment!

For part 1 of this series, I'll walk you through the initial setup and deployment steps. I'll be using Terraform to deploy a few resources on Google Cloud. The setup includes creating a project, enabling APIs, creating a service account for terraform deployments, and setting up a bucket to store the state file. In part 2, I'll cover the deployment of a NextJS website to Cloud Run and setting up the necessary secrets using Google's Secret Manager. With GitHub Actions in place, every push to the main branch will trigger a new deployment automatically. This method simplifies the deployment process from start to finish and guarantees that the website remains current.
Prerequisites:
- GCP Account: A Google Cloud Platform account to access and manage cloud resources.
- GitHub Account: For version control and to host the repository where your code and configuration files are stored.
- GitHub CLI: Command Line Interface to communicate with GitHub directly helps streamline workflows and repository management.
- Google Cloud SDK (gcloud): Command Line Interface to deploy and manage resources in Google Cloud.
- Terraform: Infrastructure as Code tool to define and provision cloud infrastructure.
What's Terraform?
Terraform is an Infrastructure as Code (IaC) tool that lets you define and provision your entire cloud infrastructure using a declarative language. It's like writing a wishlist for your cloud setup, and Terraform makes it happen. No more clicking through countless web console pages or writing lengthy shell scripts!
P.S. I did end up writing an initial script to make it ready for Terraform to start using resources. It's not automation if you don't automate the automation, right?
The State File: Terraform's Memory
The state file is where Terraform stores the current state of your infrastructure. It functions similarly to a snapshot that displays your current cloud setup. Without it, each time you run Terraform, it would attempt to rebuild your entire infrastructure from scratch, forgetting all that has been done.
Remote Backends:
Remote Backends is used for storing the state file in a shared, remote location. Here's why it's important:
- Collaboration: Allows your team to work together without conflicts.
- Consistency: Ensures everyone is working with the latest state of your infrastructure.
- Locking: Prevents multiple processes from modifying your infrastructure simultaneously.
Initial Setup and Deployment Steps
Initial Setup
- Create a Google Cloud Project
- Create a service account and assign necessary roles - The service account will be used by Terraform to deploy resources.
- Enable required APIs
- Create a bucket to store the state file
- Push the environment variables to GitHub Secrets
Note: A billing account will be required for this project. You can set up a billing account in the Google Cloud Console.
Deployment Steps
- Create a workflow file for terraform in the
.github/workflowsdirectory - Push the changes to your GitHub repository
- GitHub Actions will automatically trigger the workflow on every push to your desired branch
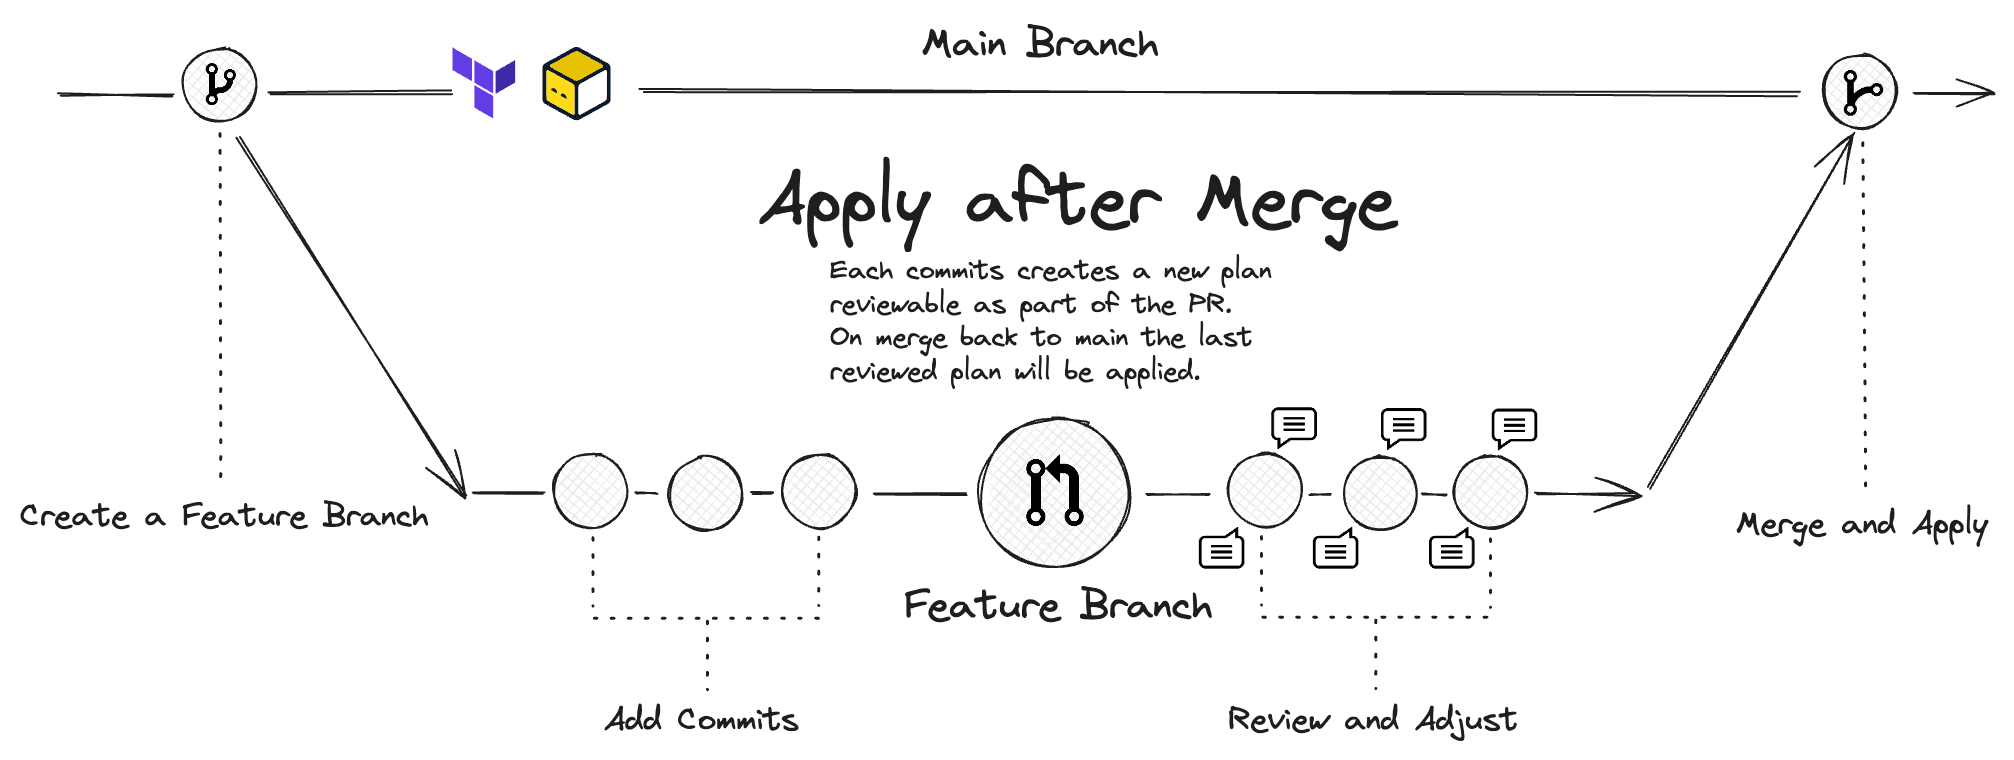
Before we dive deeper into the implementation, there's one more thing I want to mention about GitHub Actions: whether to apply the infrastructure before merging to main branch or after. There are pros and cons to both approaches, and this blog by Sören Martius, Founder of Terramate provides an insightful comparison. In my case, I opted to apply the infrastructure after merging. This method is easier to manage, reduces the likelihood of conflicts, doesn't need extra tooling, and ensures the main branch reflects the latest representation of the infrastructure.
Implementation
Setting up the Project
First we will set up the necessary roles and APIs required for the project. I've created two arrays to store the roles and APIs that will be enabled. This way, it's easier to manage and update the roles and APIs in the future. For your project, you can add or remove roles and APIs as needed based on the resources you plan to deploy.
Next, we will create a project and set the config to use the project. There are certain restrictions on the project name, so make sure to follow the guidelines mentioned in the Google Cloud documentation.
The create_project function checks if the project already exists. If it doesn't, it creates a new project and then sets it as the current project in config.
Next, we'll link the project to a billing account and enable the required APIs.
Now that the project is set up, we'll create a service account and assign the necessary roles to it. We'll also need a service account key to authenticate Terraform with Google Cloud.
Finally, we'll create a bucket to store the state file and push the environment variables to GitHub Secrets.
You can find the complete script here.
Setting up Terraform and Github Actions
Once the project is set up, we can start configuring Terraform and GitHub Actions.

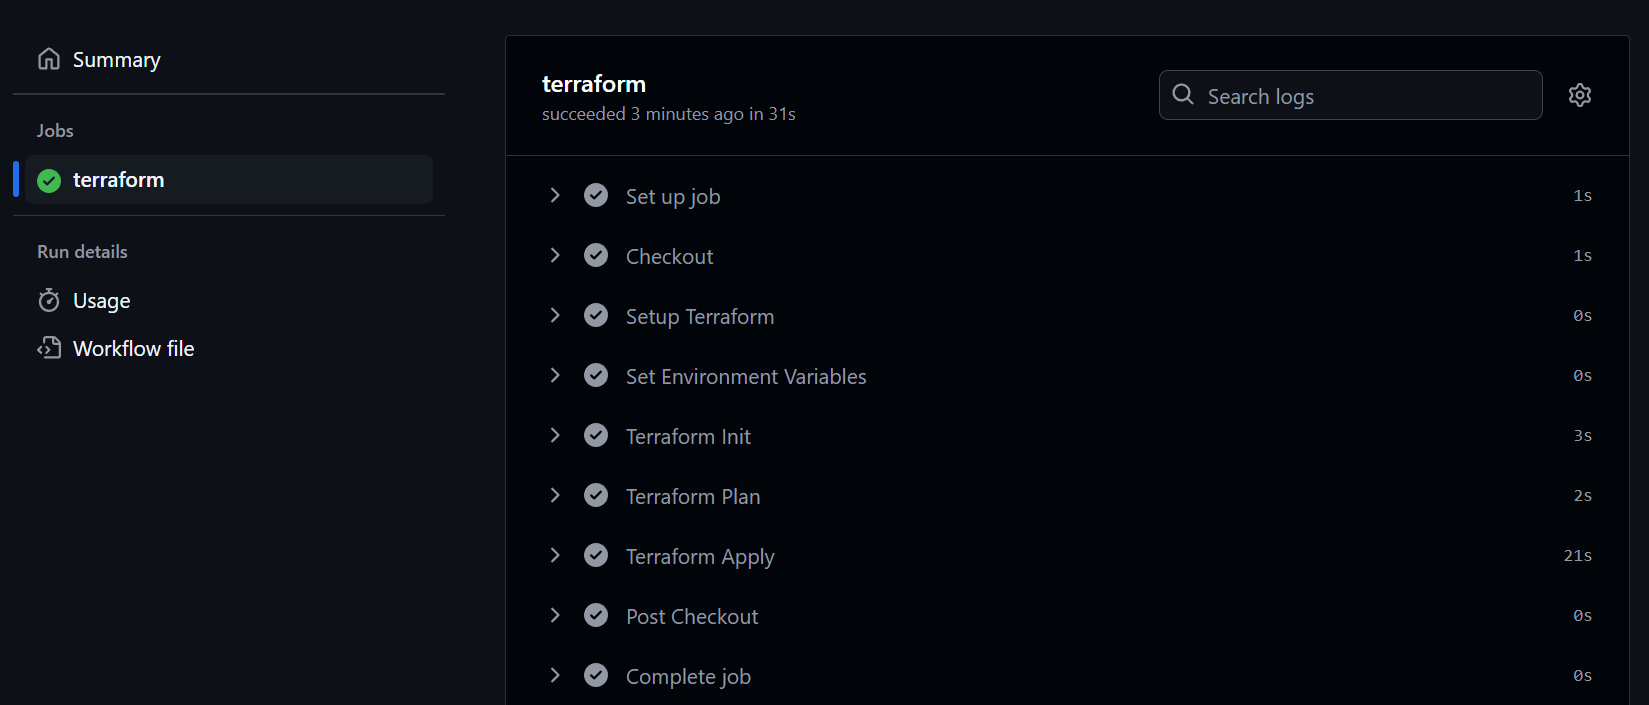
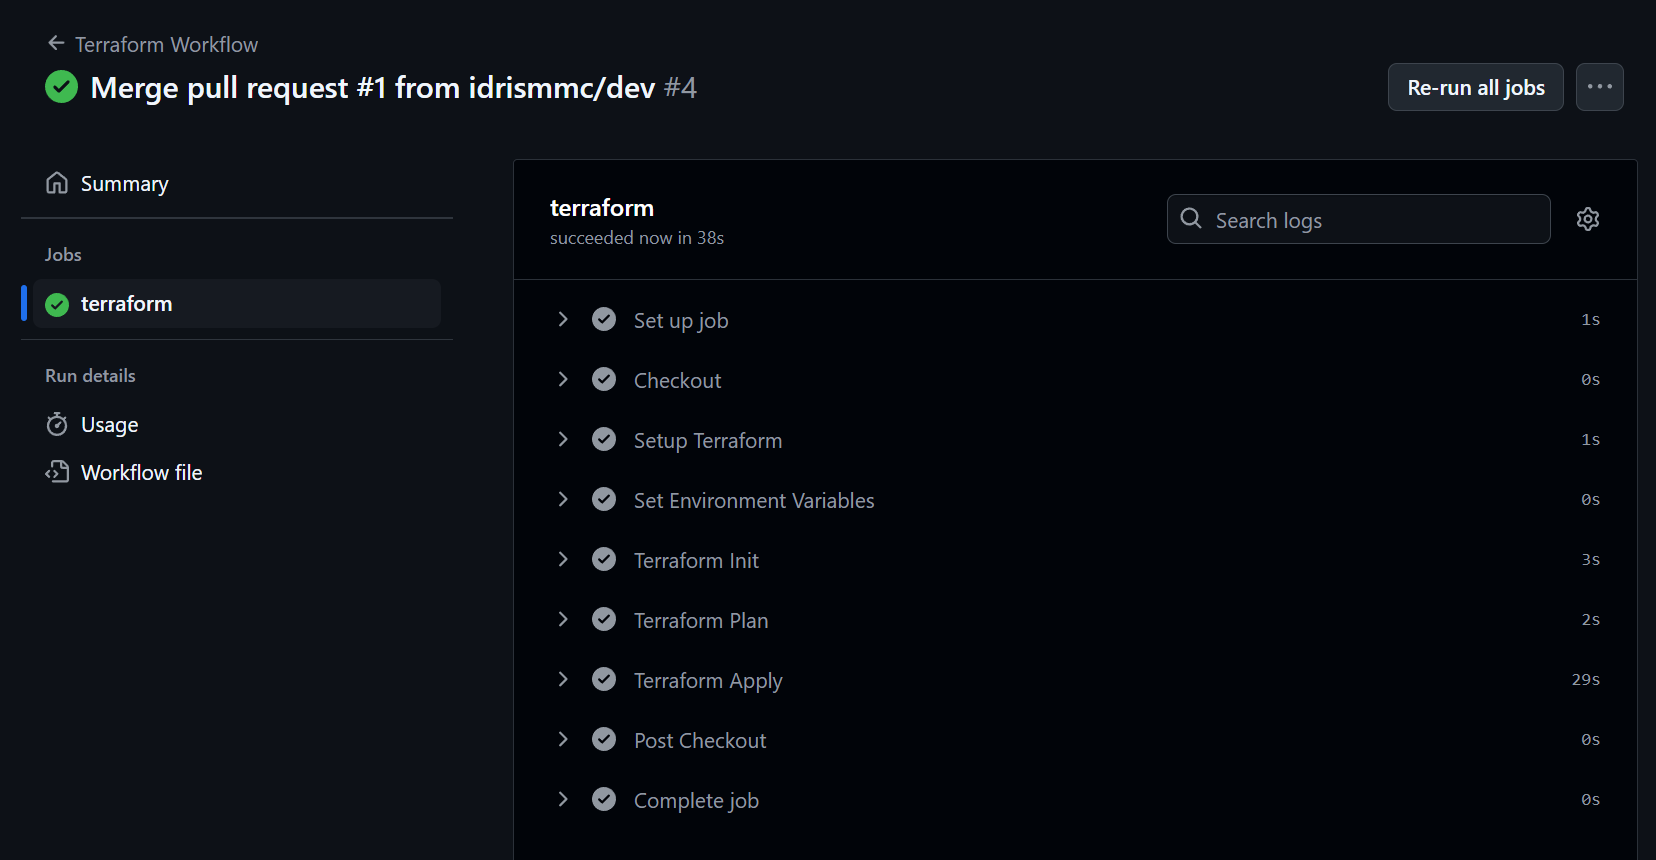
The workflow consists of the following steps:
- Checkout the repository.
- Setup Terraform.
- Set environment variables based on the branch.
- Initialize Terraform (We'll use the gcs bucket created earlier to store the state file).
- Plan the Terraform changes.
- Apply the Terraform changes.
It is set to run on every push to the dev, stage, and main branches. Ideally the stage and main branch would be protected, and changes would be merged via pull requests and with proper unit tests and code reviews in place. Once the changes are merged, the workflow will be triggered automatically.

Conclusion
It might seem like a lot of work to automate a simple deployment process, but the benefits are worth it. The initial setup might take some time, but once it's done, you can deploy your resources easily and consistently. You can also extend the setup to include more resources and services as your project grows. In part 2 of this series, I'll cover the deployment of a NextJS website to Cloud Run and setting up the necessary secrets using Google's Secret Manager. Thanks for reading!
Link to the repository: gcp-terraform
